
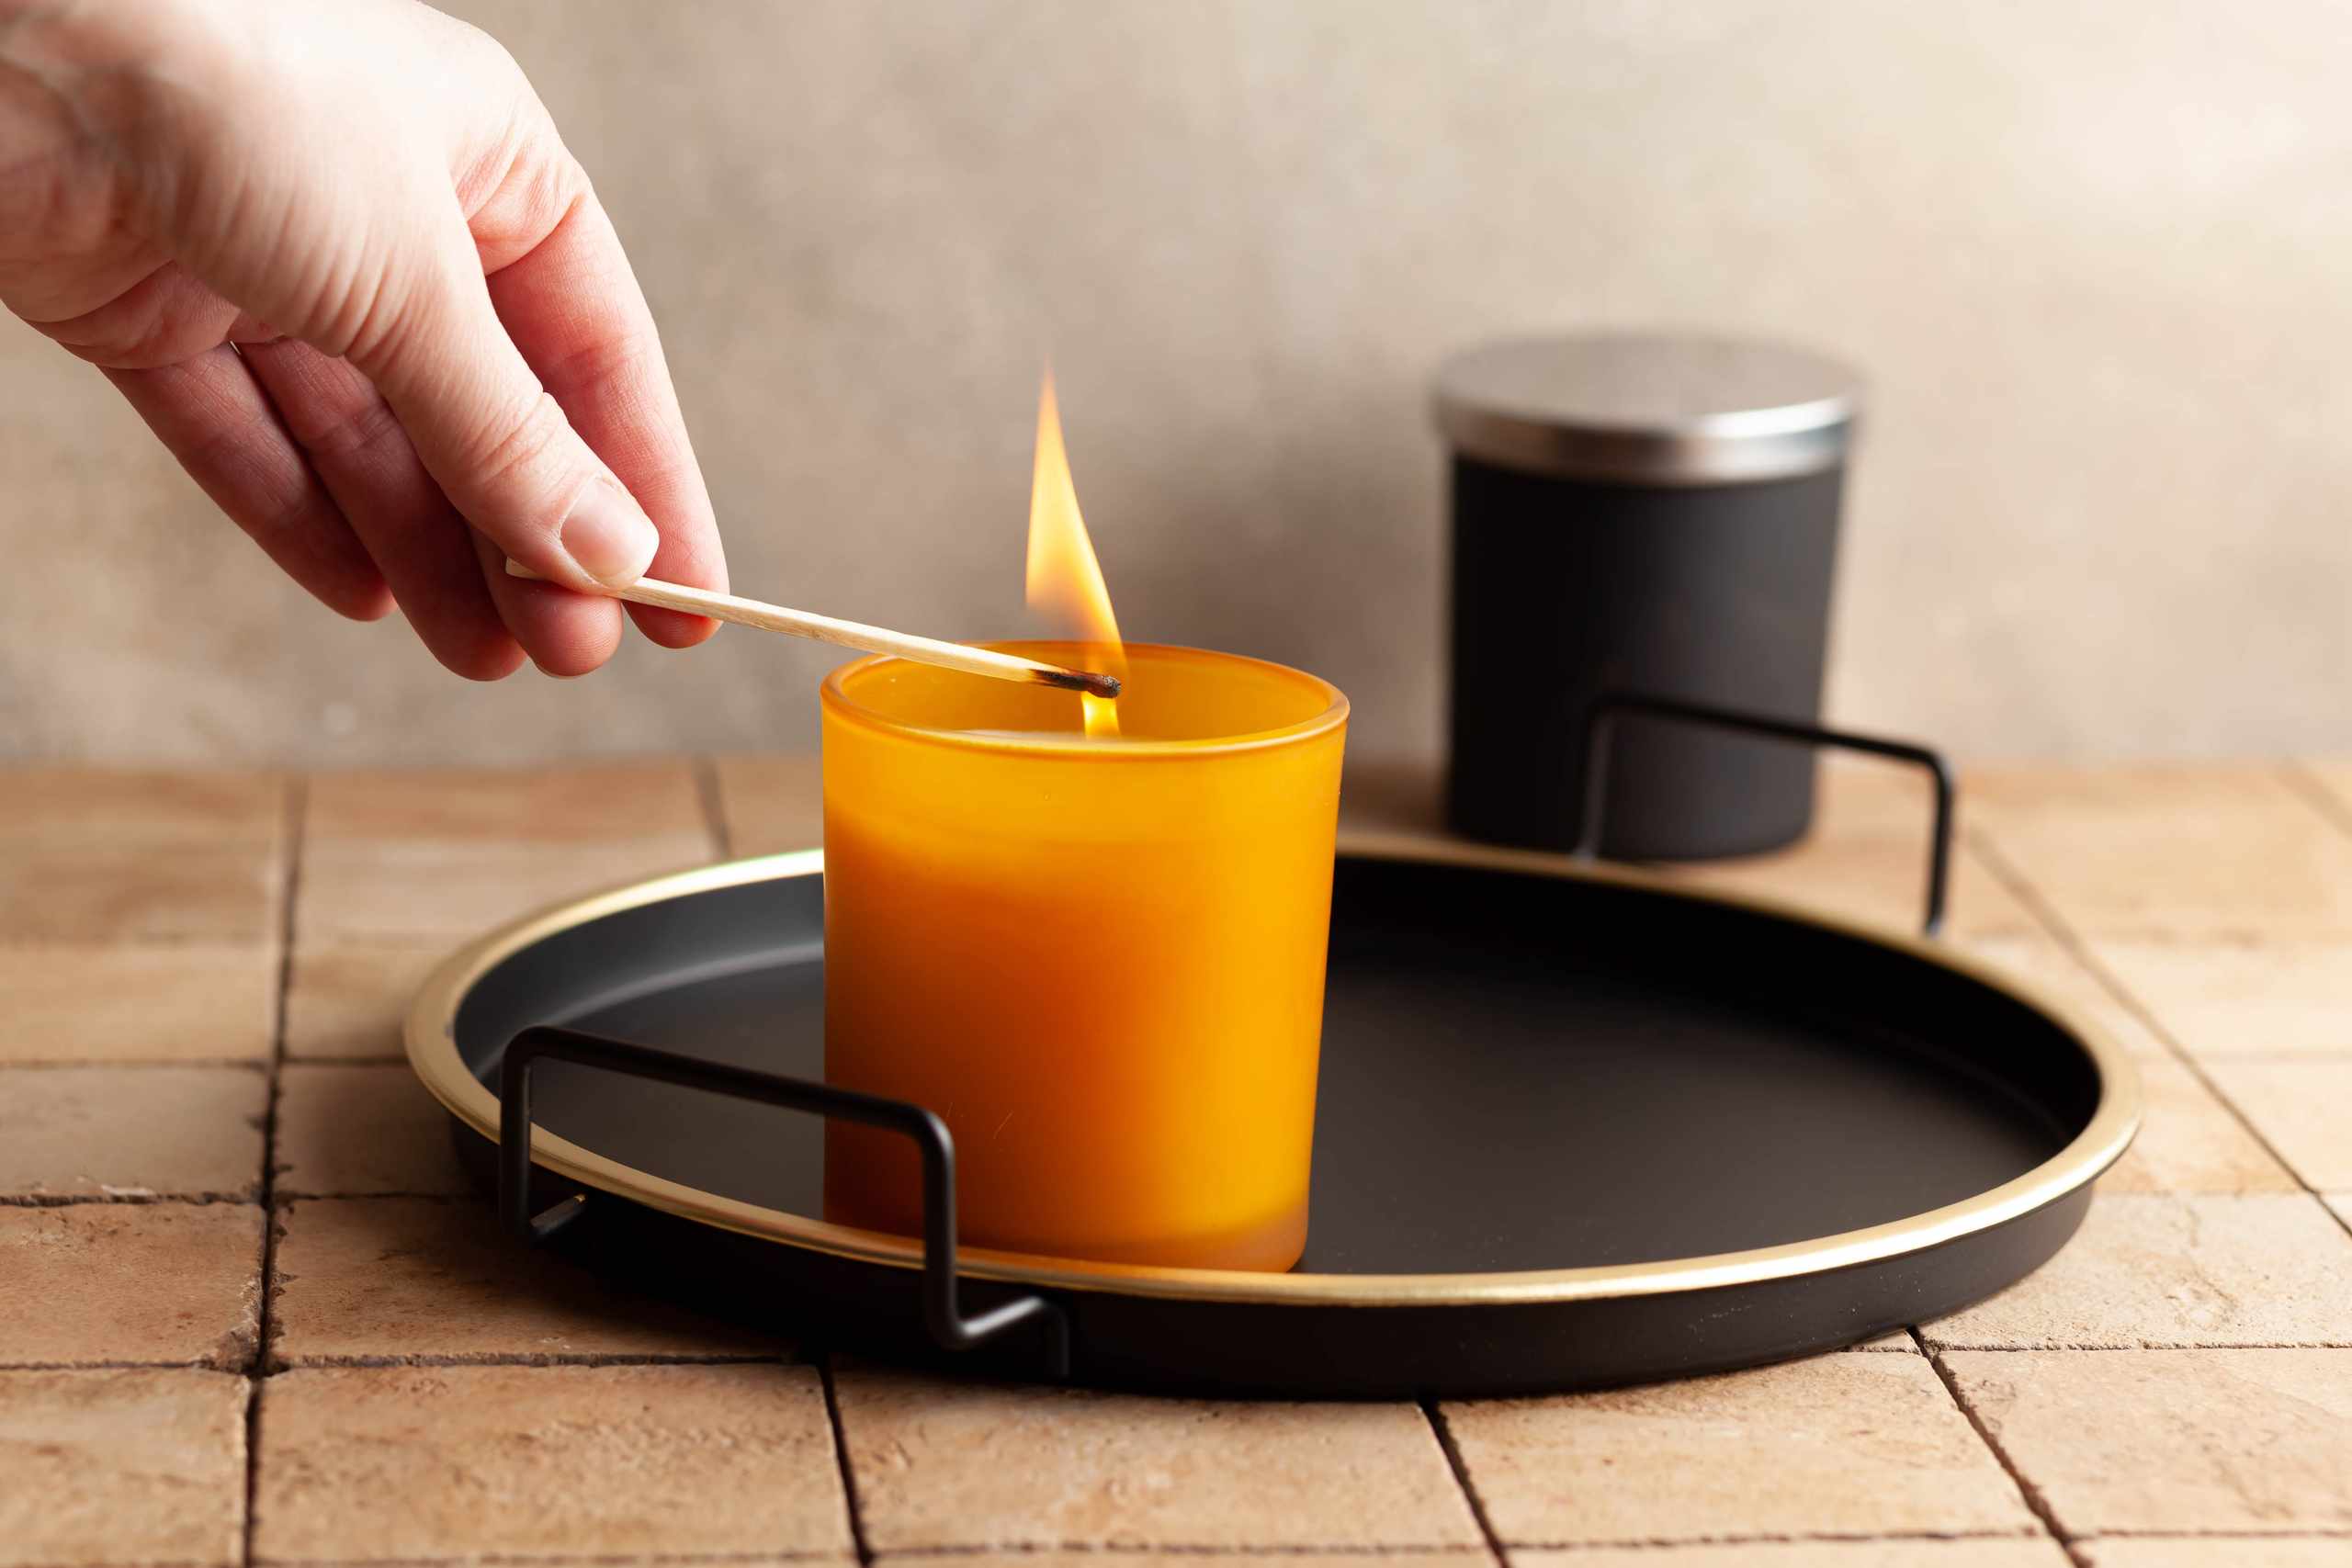
The wick might seem like the most basic component of a candle, but it has a significant impact on how the candle burns once finished. A wick has to play well with the wax it is paired with, the diameter of the container, and any fragrance oils or dyes added to a particular batch. A bad wick match could lead to issues such as tunneling, an overly large flame, excess soot, or an irregular melt pool. Because of all that, it’s best to treat wicking as something to experiment with rather than something to figure out once and be done with.
One thing to take note of right away is the diameter of the container. A wider candle will require more heat to achieve a full melt pool, while a smaller one requires less. The actual wick that works also depends on the wax and the wick itself, so there’s no single “right” answer based purely on container diameter. However, it still serves as a good reference point. Be sure to measure your container’s internal diameter and keep that measurement handy alongside your candle-making notes. You’ll thank yourself later if you need to compare different wicks based on a specific container size rather than simply remembering a vague “small” or “medium.”
In addition, the wick should sit in the middle of the container. An otherwise suitable wick won’t perform as expected if it’s leaning toward the edge. Prior to melting your wax, set up the wick by securing the wick tab to the base of an empty container jar. Use a wick holder to keep the wick upright. When doing this, view your container from the top down rather than from the side, as this allows you to spot any small deviations from the centerline more easily. Testing your centering technique in an empty jar is beneficial, because you don’t have to worry about the wick moving while the wax cools.
To get a proper comparison, you can make two or three mini candles with the same wax, container, fragrance, and method. The only variable that should change between these candles is the wick. Weigh your wax with a digital scale, use the same thermometer to monitor temperature, and employ the same technique to pour each candle. Otherwise, it becomes difficult to assess the burn result when multiple variables are changed simultaneously. A different scent load, a different jar size, and a different wick in a single test could make it hard to determine which factor led to any observed differences.
After the candles have had time to cool and cure (depending on the wax), you should be ready to burn test them. Trim your wicks prior to lighting, and then allow the candle to burn without judging it right away. A flame that is too small and creates a thin tunnel may indicate that the wick isn’t getting hot enough for that particular candle. A very large flame, lots of soot, or a high level of mushrooming indicates the opposite. Take note of the melt pool as well. Watch the melt pool grow over time rather than assuming the whole surface will turn to liquid right away. Always place your test candles on a non-flammable surface, and keep open flames away from anything flammable during testing.
We’re not looking for a “universal wick” that works for all candles. Rather, we’re trying to determine how a wick performs with a specific combination of wax, jar, fragrance, and size. Note the wick, container diameter, flame size, soot, tunneling, and melt pool. Then make one change in the next batch. Once you start doing that, wicking doesn’t seem quite as complicated. Instead of choosing based solely on appearance, you can rely on the actual burn performance of your candles to tell you which wick to try again.