
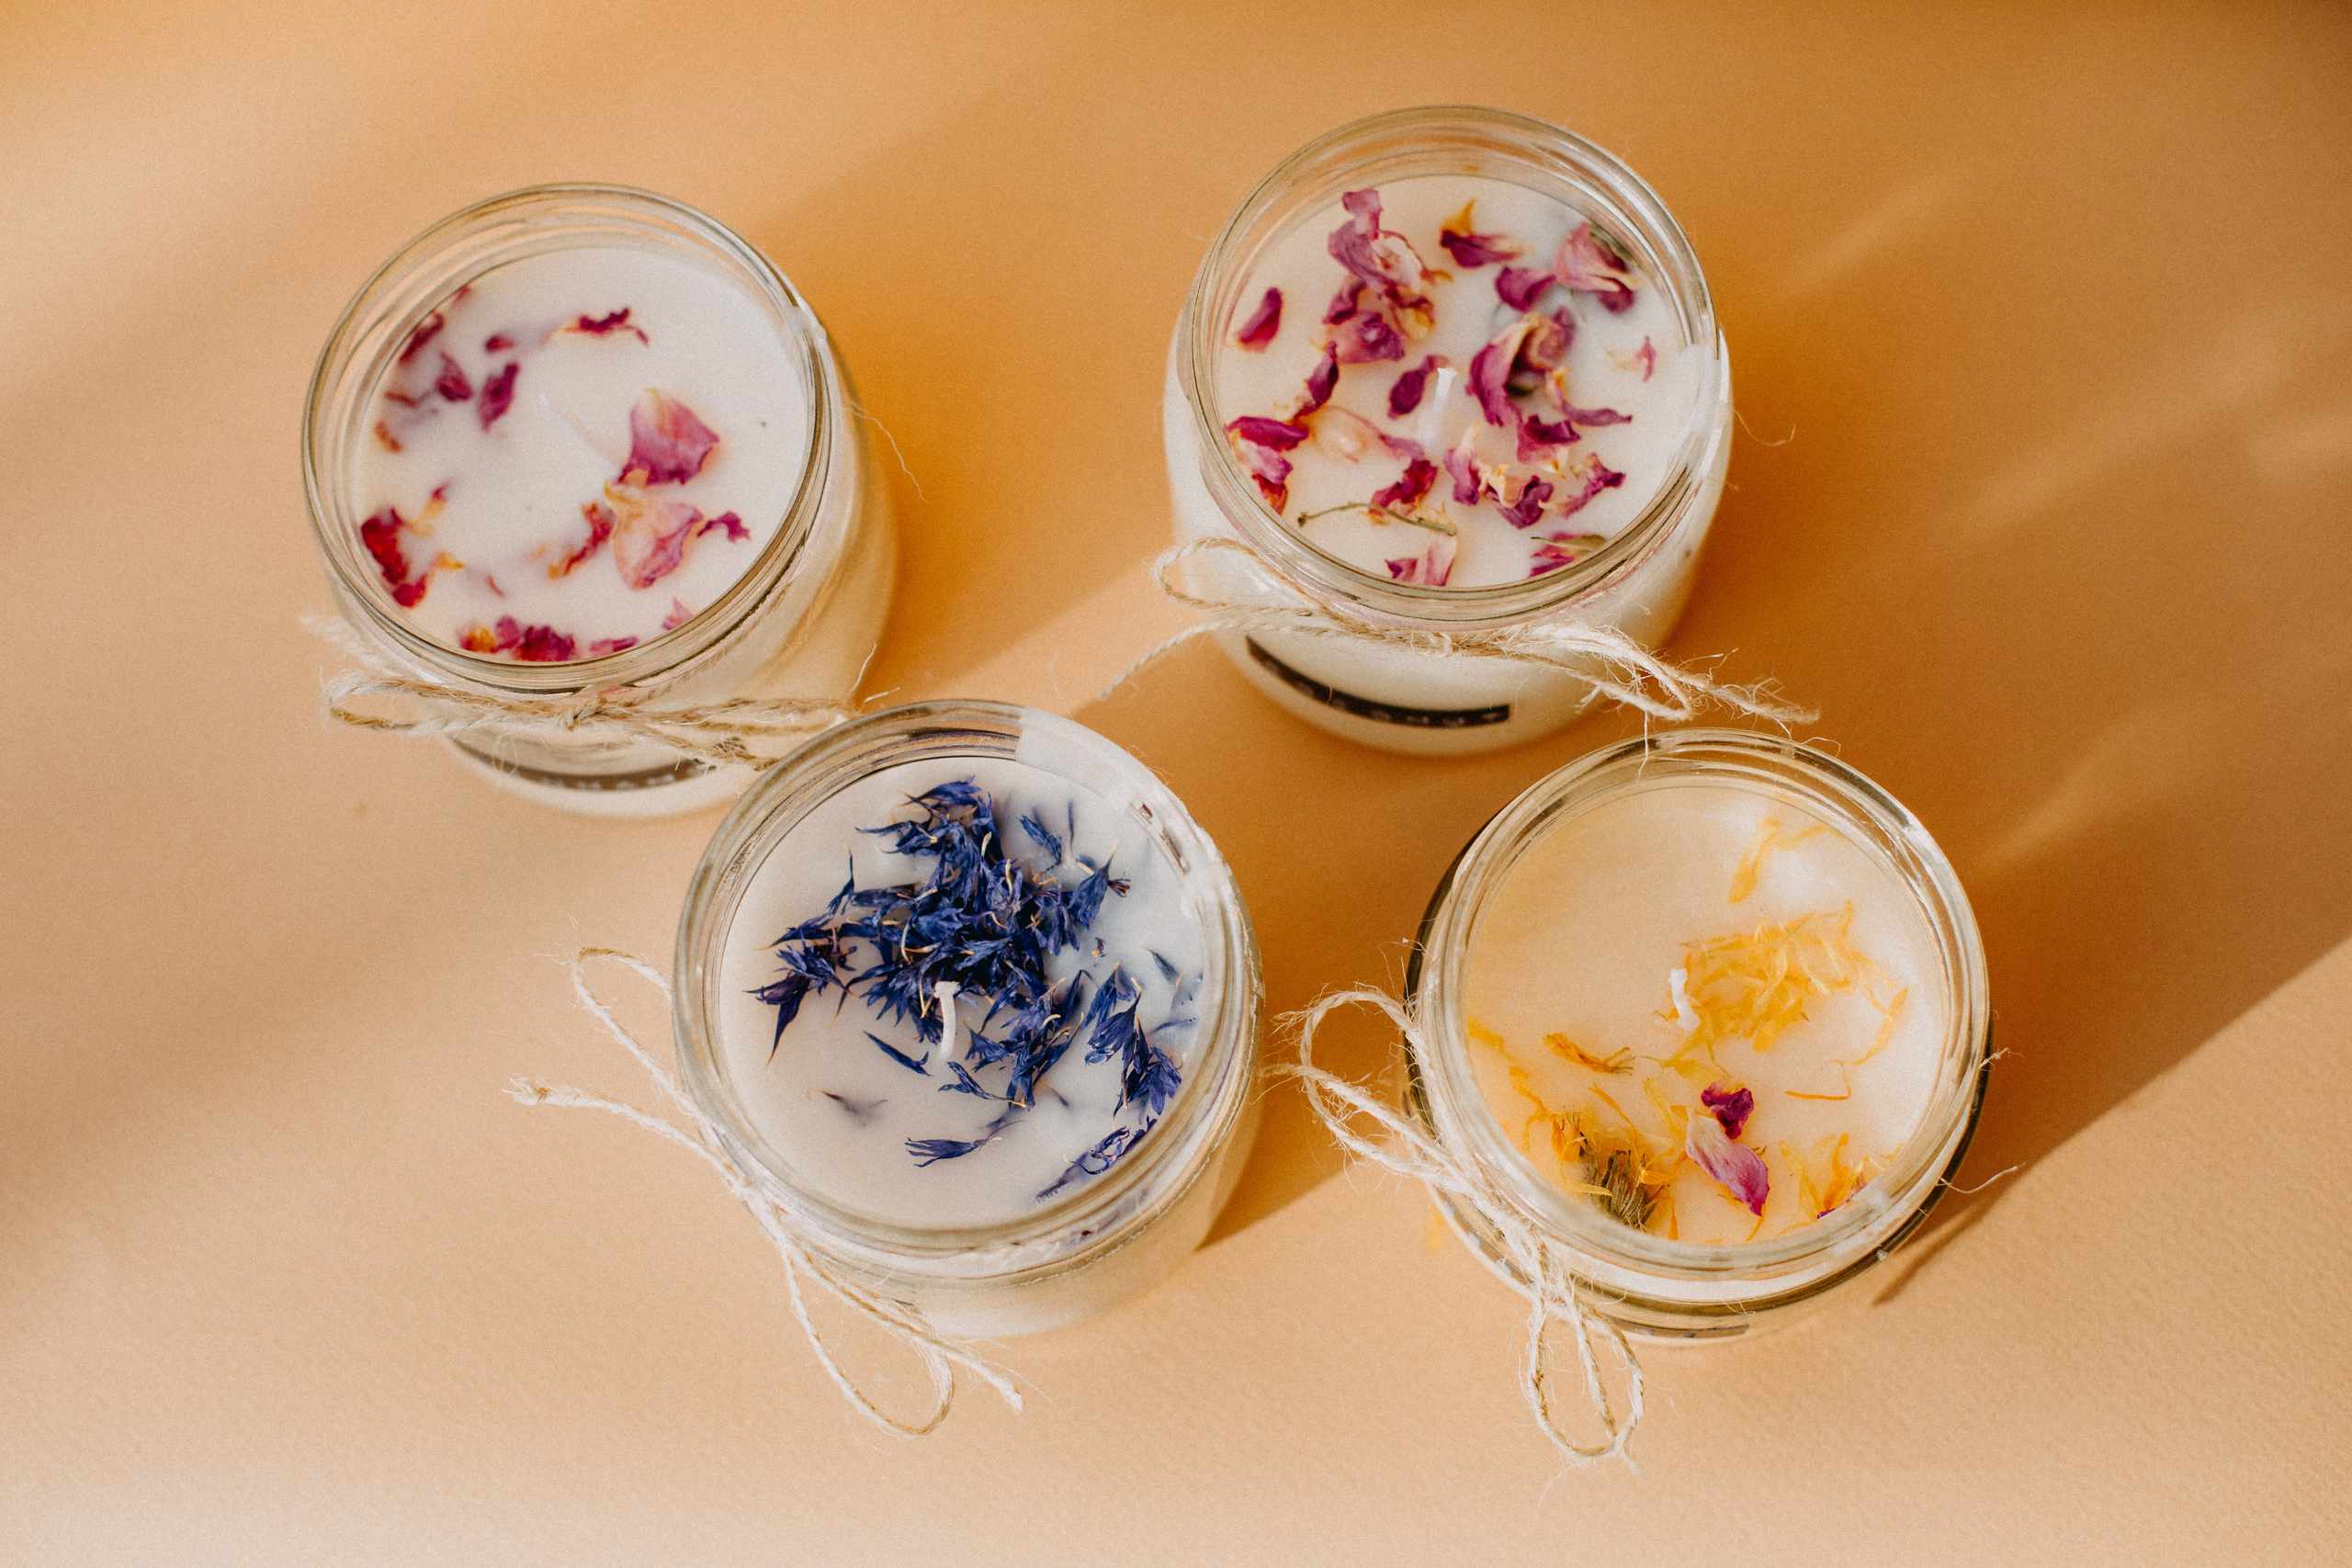
You hold your pitcher of candle wax. The wax appears fully melted, and it’s ready to be poured. But when the candle cools, there’s a bumpy texture on the surface, poor adhesion of the wax to the sides of the container, or some other unexpected outcome. Temperature might not be the only cause, but it’s something to keep in mind. Because candle wax changes as it melts and cools, taking note of temperature gives you insight that goes beyond just knowing when the wax appears completely liquid.
Here’s a simple experiment to try: Make two small test candles with the same wax, wick, container, and fragrance oil amount. Using a thermometer, check the temperature right before you pour each one. Choose two slightly different but suitable pouring temperatures for your specific wax. Keep everything else about the test candles as identical as possible. Allow both candles to cool in the same location without moving them. Once the candles have set, compare them based on their surface appearance, wax adhesion to the container wall, visible air bubbles, and any signs of a sinkhole. By turning temperature into something you can physically observe, you begin to understand why temperature matters.
Temperature matters earlier in the process as well. Aggressively heating the wax can make it difficult to keep track of the contents of the pouring pitcher. Taking it slow allows you to better monitor the wax and better prepare for the next step. When adding fragrance oil or dye, temperature can impact the timing of when these additives are introduced to the wax as well as how thoroughly they are mixed together. The exact temperatures will vary depending on the wax and materials used, so it’s not necessary to commit specific temperatures to memory. Instead, focus on measuring consistently and following the recommendations for your chosen materials.
The stage between melting the wax and pouring it into the container is an area where it’s very easy to rush. Some new candlemakers see liquid wax and think it’s best to start pouring immediately. However, because most waxes remain liquid over a wide range of temperatures, you can’t assume the wax is going to behave the same in the container. Keep the thermometer involved in the process instead of checking the temperature once and moving on. Continue to observe the temperature as you prepare your container, center the wick, and ready your pouring space.
Pouring the wax more smoothly is another benefit of being able to pay attention to the wax as it cools. With your candle-safe container in place, the wick aligned, and the work area ready, you’re less likely to try juggling multiple tasks all at once. Aim for a smooth, steady pour rather than tossing the wax into the container. Rushed pouring can result in splashes and air bubbles, while unnecessary delays can lead to uneven layers. Controlling the temperature is most effective when you’re able to organize the rest of the process rather than treating the wax temperature as a separate task.
After the candles cool, take notes on more than just whether the candle looks nice. Include the type of wax, weight of wax used, and fragrance oil amount (if applicable). Record the temperature of the wax before pouring. Note anything unusual you observed on the candle, including frosting, sinkholes, air bubbles, or poor adhesion to the container wall. One candle doesn’t demonstrate that the temperature was responsible for these issues, but consistent testing can help identify patterns more effectively than making assumptions.
For your next pour, observe the temperature of the wax and consider what you hope to discover from the results. As long as the wax temperature is noted, the wick is centered, and other factors remain the same, the cooled candle provides a clearer message. The important aspect isn’t the specific temperature displayed by the thermometer. It’s the relationship between the temperature, how the wax poured, and how the candle looks once it has finished cooling.